Make your own Photo Cards (Flat photo cards)
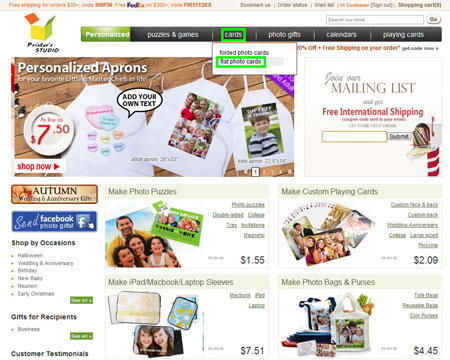
STEP 1:
Hover the mouse-cursor over the cards tab and click flat photo cards
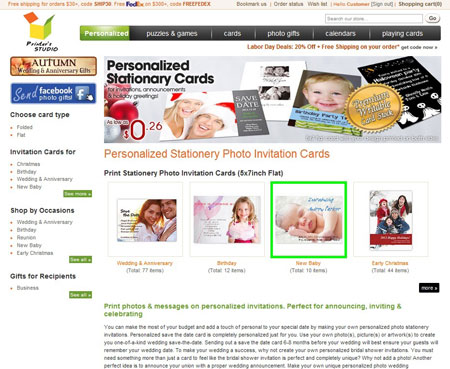
STEP 2:
Choose an occasion or gift recipient and click on the image
STEP 3:
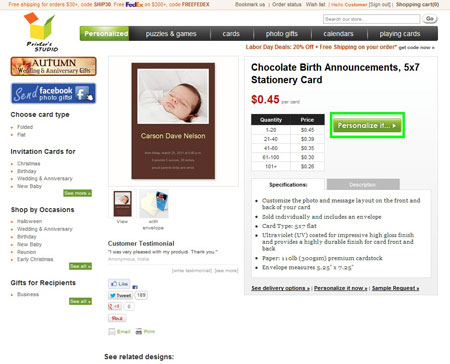
Click on the template you want to use
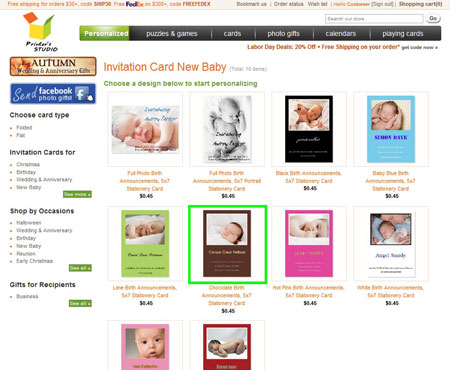
STEP 4:
Click the green Personalized it... icon
STEP 5:
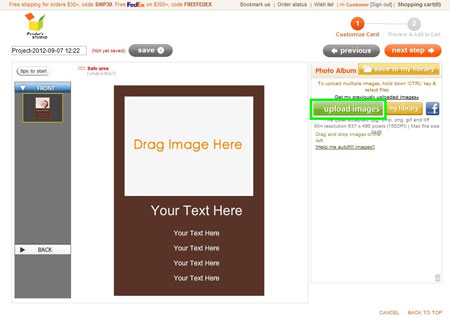
Customize front - Upload and add photo(s)
- Click on upload images to view the files on your computer's hard drive, floppy drive or digital camera.
Image Requirements
NOTE: If the image size, resolution or format is below our minimum requirements, you will receive an error message. Please rescan your image at a higher resolution or select another image. Please refer to our Image Requirements for more information.
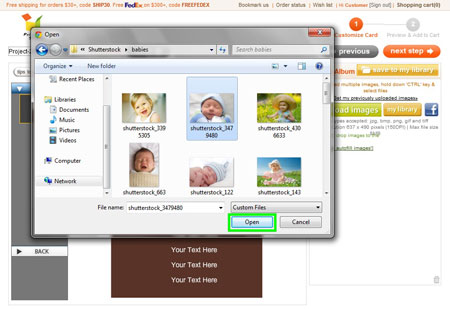
- Select the image file you wish to upload and click Open. Uploaded images are located inside the Photo Album box on the right side of the screen
*To upload multiple images, hold the CTRL key on the keyboard and click on files
- Drag and drop the image onto the Drag Image Here area
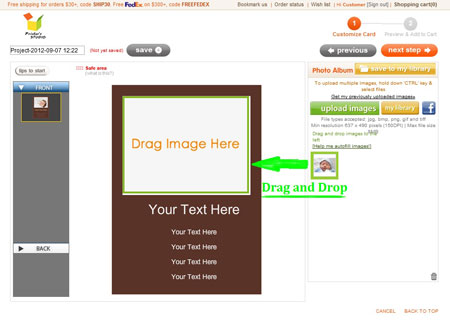
- Click the edit icon under the image to edit the image and click apply when completed.
To rotate image (Blue):
Click on the button under text Rotate Image
To resize and reposition image (Red)
Drag the corner handles to size the frame to the desired size, and reposition the red rectangle over the portion of the image where you want it to be.
To apply color effect to your image (Green)
Click the button next to each effect option

STEP 6:
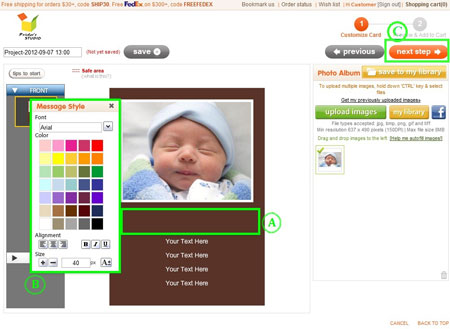
Customize front - add text
A. Click on text label
Your Text Here on the template and type your message
B. Change font style, color, size and text alignment under
Message Style
C. Click on
next step button at top-right when you are ready. You can always go back to previous page to make changes by clicking on the
previous icon
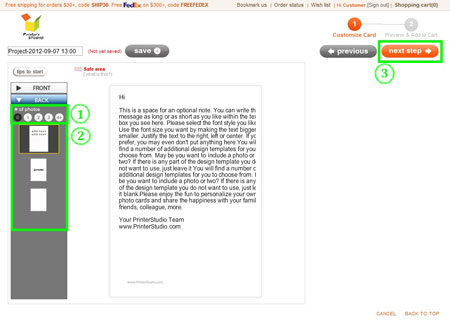
STEP 7:
Customize back - add photo(s) & text
- Select a layout depends on the number of images to use on card back
- Click on the thumbnail matching your desired layout to apply. Repeat STEP 5 & STEP 6 above to add photo(s) and text on the template
- Click on next step button at top-right when you are ready. You can always go back to previous page to make changes by clicking on the previous icon
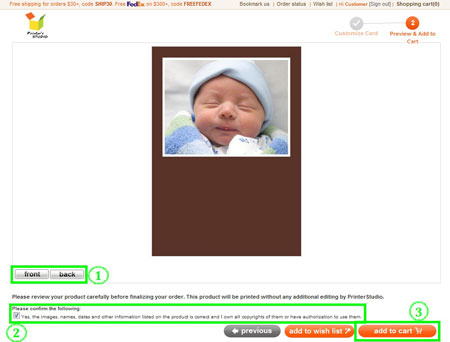
STEP 8:
Preview your design and Add to Cart
You will see a preview of your personalized item at this step. Click previous button at the bottom of the page if you need to make any changes to your design.
- Click on the button located below the preview image to see each side of your personalized item
- Tick the checkbox to approve your design and to confirm you own the copyrights of them or have authorization to use them.
- Click on add to cart button