Make your own Coin Purse (Same image on both sides)
STEP 1:
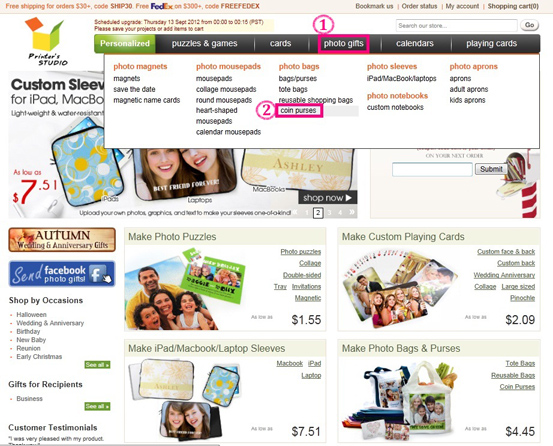
Hover the mouse-cursor over the photo gifts tab and click coin purses
STEP 2:
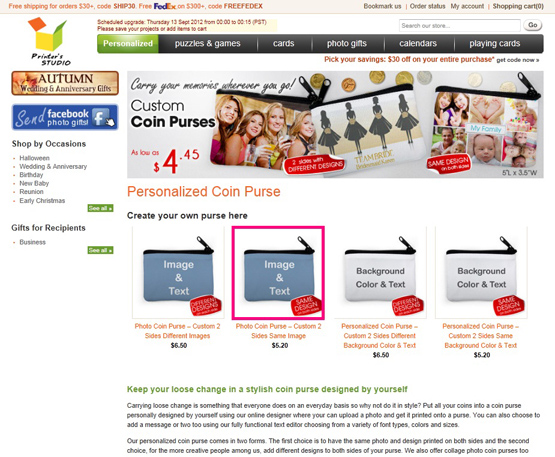
Click on any design with a red SAME DESIGN on both sides icon
STEP 3:
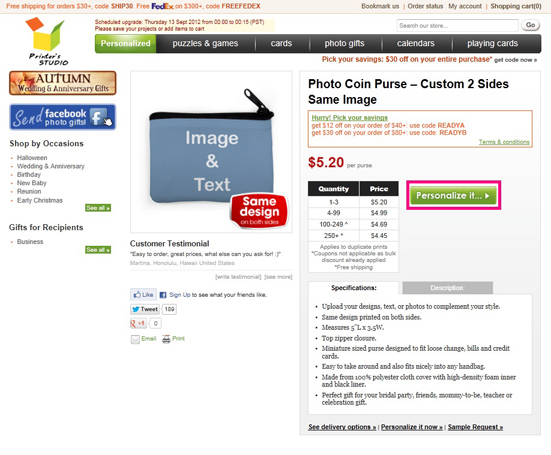
Click the green Personalized it icon
STEP 4:
Customize Front and Back - Add your photo
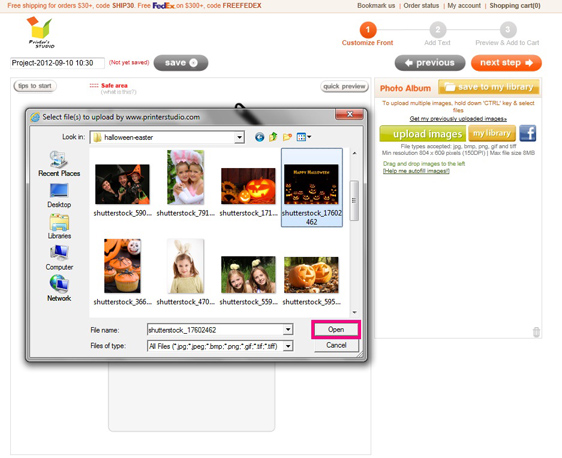
- Click on Upload images to view the files on your computer's hard drive, floppy drive or digital camera.
Image Requirements
NOTE: If the image size, resolution or format is below our minimum requirements, you will receive an error message. Please rescan your image at a higher resolution or select another image. Please refer to our Image Requirements for more information.
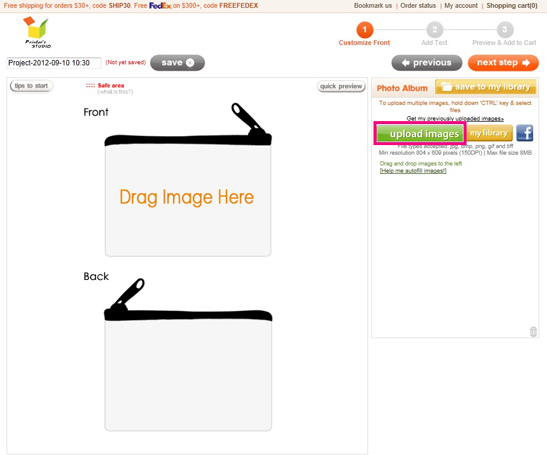
- Select the image file you wish to upload and click Open. Uploaded images are located inside the Photo Album box on the right side of the screen
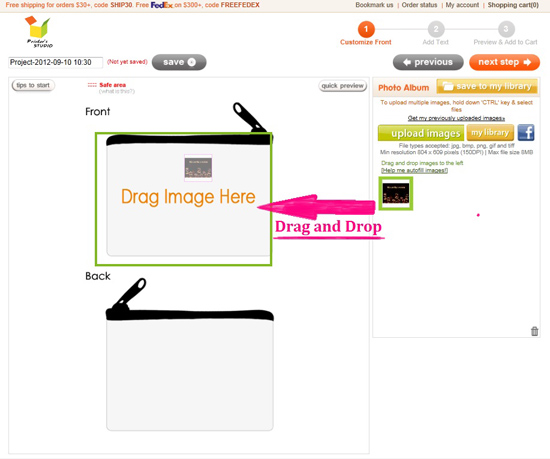
- Drag and drop the image onto the Drag Image Here area
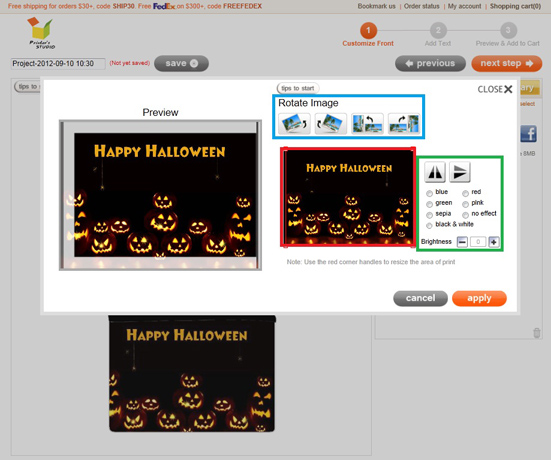
- Click the edit icon under the image to edit the image and click apply when completed.
- To rotate image: Click on the button under text Rotate Image
- To resize and reposition image: Drag the corner handles to size the frame to the desired size, and reposition the red rectangle over the portion of the image where you want it to be
- To apply color effect to your image: Click the button next to each effect option
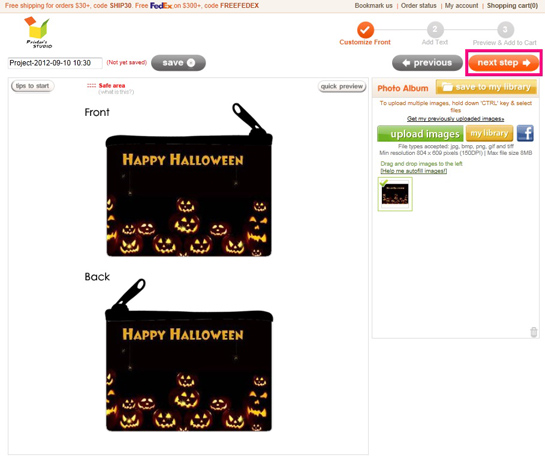
- Click on next step button when you finish all the editing. You can always go back to previous page to make changes by clicking on the Previous icon.
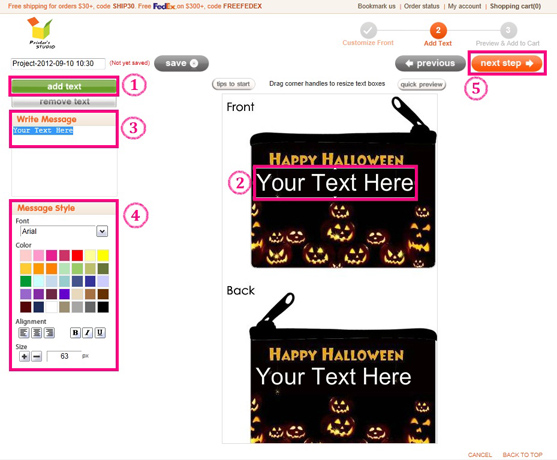
STEP 5:
Customize Front & Back - Add your text
- Click the green add text button
- Move the text label Your Text Here to anywhere within the template
- Type your message under Write Message box
- Change font style, color, size and text alignment under Message Style
- Click on next step button at top-right when you are ready. You can always go back to previous page to make changes by clicking on the previous icon
STEP 6:
Preview your design and Add to Cart
You will see a preview of your personalized item at this step. Click previous button at the bottom of the page if you need to make any changes to your design.
- Click on the button located below the preview image to see each side of your personalized item
- Tick the checkbox to approve your design and to confirm you own the copyrights of them or have authorization to use them.
- Click on add to cart button
